
áQuick Draw Design and Layout Tool can perform a variety of functions. Quick Draw enables artists and contractors to design and lay out floors, walls and ceilings through freehand drawing without the fatigue and safety issues. Quick Draw also fills the contractors need for an economical way to draw accurate circles from 1ĺ to 14 Ĺ in diameter. Freehand Drawing As shown in fig.1, Quick Draw breaks down for travel and storage. To use, simply screw together (fig.2) Quick Draw stores additional chalk under the cap (fig.3). 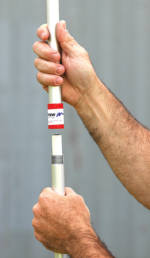 fig.3
fig.3 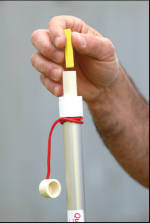 fig.4 fig.4 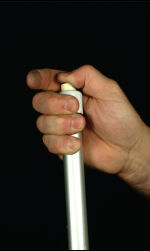 fig.5 fig.5 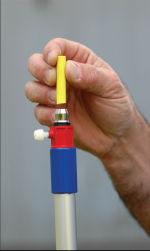 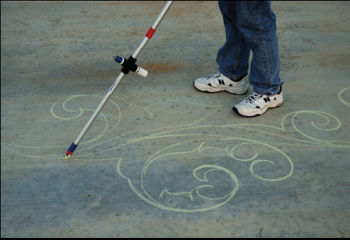 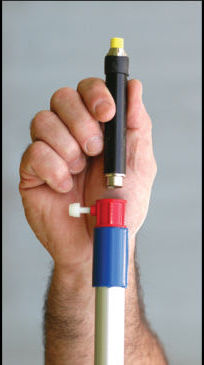 fig.8
fig.8 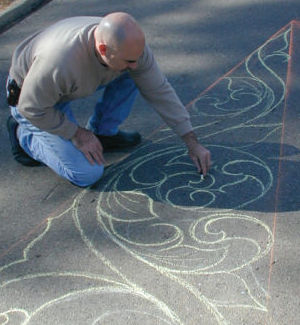 TIP: When designs are created in this way with chalk, lightly spray with hair spray to hold the line. Next, it can be freehand scored with an angle grinder using a crack chaser or turbo diamond blade. Chalk Draw Compass Beam Quick Draw can also be configured as a compass beam that uses chalk, pencil and can alternately be fitted with other types of markers. To use Quick Draw to lay out circles or arcs on walls, ceilings and floors from a standing position;
2. Screw 4' extension shaft vertically into center of compass slide connector (fig. 10). 3. Adjust slider for desired radius (up to 7.5 ft in this mode) and tighten knob or handle (fig.11). 4. Mark a tiny dot with a pencil on ceiling, floor or walls. 5. Place center pivot point on dot and rotate handle clockwise. 6. For large circles, remove chalk holder assembly and add extension shaft. Screw it into the other end of the shaft. create circles up to 14'. 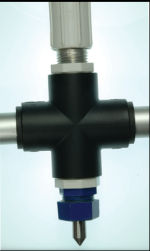 fig.9
fig.9 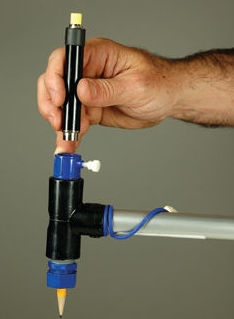 fig.10 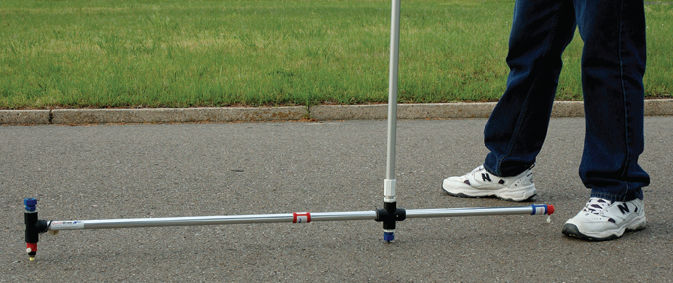 |